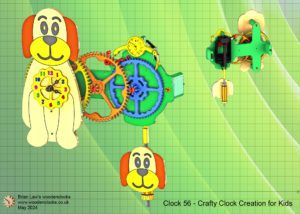
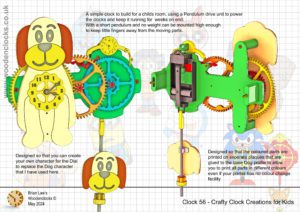
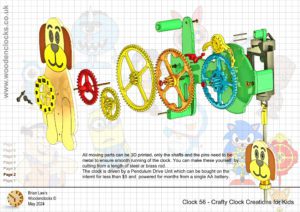
The clock is driven by a Pendulum Drive Unit which can be bought on the internet for less than $5 and powered for months from a single AA battery. With a short pendulum and no weight can be mounted high enough to keep little fingers away from the moving parts.
Designed so that the coloured parts are printed on separate plaques that are glued to the base Dog profile to allow you to print all parts in different colours even if your printer has no colour change facility
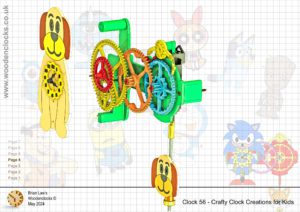
Designed so that you can create your own character for the Dial to replace the Dog character that I have used.
All moving parts can be 3D printed, only the shafts and the pins need to be metal to ensure smooth running of the clock. You can make these yourself by cutting from a length of steel or brass rod.
I supply the STL and STP files that can be used with your 3d Printer and can be downloaded here for $15. You also get the unrestricted version of the PDF files that can be printed at full size.
Drawings for this clock in PDF format can be downloaded here. These free files are low resolution and not to scale and only a sample of the full set that comes in the paid for version. Clicking here will download the PDF file directly to your browser, may take a few moments so please be patient.
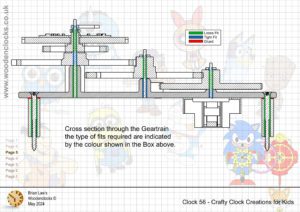
A sample of the Instructions for assembling the clock components.
To print only a single item of the drawing to scale using Adobe Acrobat Reader, do the following:
Go to Edit, then click on Take a snapshot, move the cursor to the top left of the item you want to print and hold down the left mouse button whilst you drag a box around the item. The inside of the box turns blue and you can now go to File and then click on Print. This brings up the print dialogue, make sure Selected graphic is selected and that the Page scaling is set to None and the click on OK. As long as your printer is connected you will have printed the item at size. Do this for each item you want to cut out.

