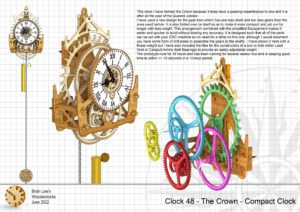
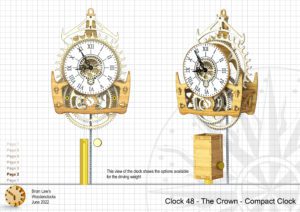
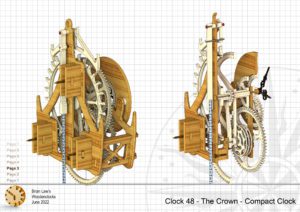
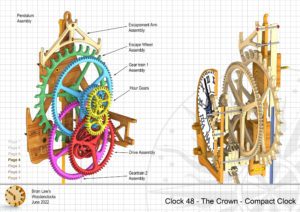
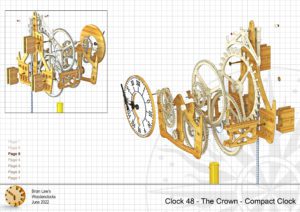
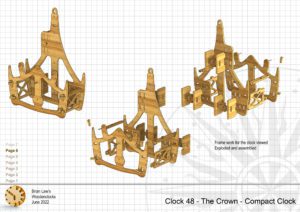
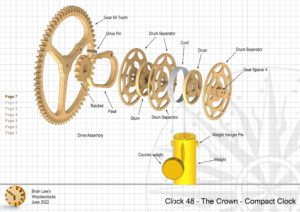
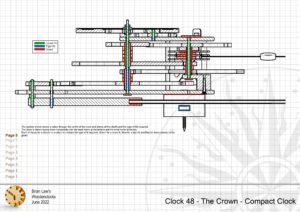
This clock I have termed the Crown because it does have a passing resemblance to one and it is after all the year of the Queens Jubilee.
I have used a new design for the gear train which has one less shaft and two less gears than the ones used before. It is also folded over on itself so as to make it more compact and yet run for longer with less weight. This arrangement combined with the simplified Escapement makes it easier and quicker to build without loosing any accuracy. It is designed such that all of the parts can be cut with your CNC machine so no need for a lathe on this one. although I would recommend you have some form of drill press to assemble the gears to the shafts. I have shown it here with a Brass weight but I have also included the files for the construction of a box to hold either Lead Shot or Catapult Ammo (ball Bearings) to provide an easily adjustable weight.
The prototype runs for 25 hours and has been running for several weeks now and is keeping good time to within 20 seconds in a 24-hour period. I have actually given up trying to get it to run any better as I am beginning to think its due to temperature fluctuations that have be occurring recently.
DXF files, and the STP and STL files that can be used with your CNC machine and 3D printer can be downloaded here for $26. You also get the unrestricted version of the PDF files that can be printed at full size and in this clock only the STL files if you need them.
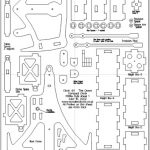
Drawings for this clock in PDF format can be downloaded here. These free files are low resolution and not to scale and only a sample of the full set that comes in the paid for version. Clicking here will download the PDF file directly to your browser, may take a few moments so please be patient.
Instructions for assembling the clock components.
To print only a single item of the drawing to scale using Adobe Acrobat Reader, do the following:
Go to Edit, then click on Take a snapshot, move the cursor to the top left of the item you want to print and hold down the left mouse button whilst you drag a box around the item. The inside of the box turns blue and you can now go to File and then click on Print. This brings up the print dialogue, make sure Selected graphic is selected and that the Page scaling is set to None and the click on OK. As long as your printer is connected you will have printed the item at size. Do this for each item you want to cut out.

