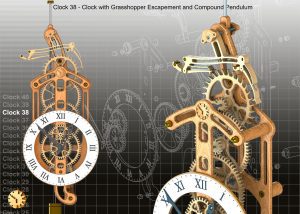
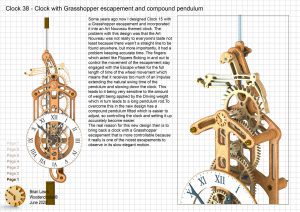
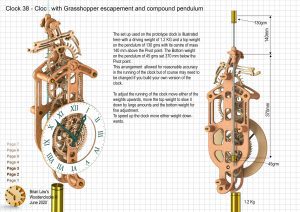
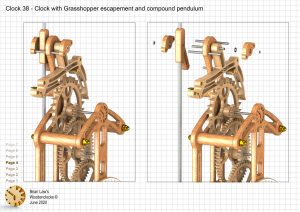
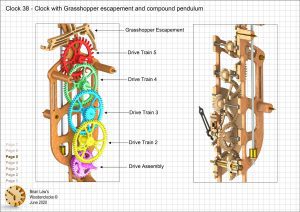
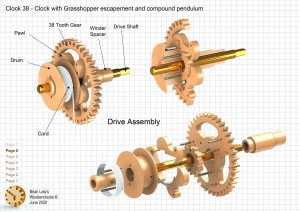
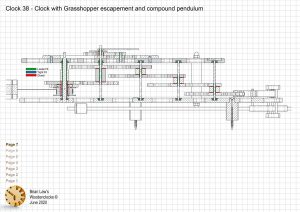
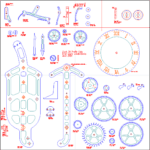
Some years ago now I designed Clock 15 with a Grasshopper escapement and incorporated it into an Art Nouveau themed clock. The problem with this design was that the Art Nouveau was not really to everyone’s taste not least because there wasn’t a straight line to be found anywhere, but more importantly, it had a problem keeping accurate time. The fingers which acted like Flippers flicking in and out to control the movement of the escapement stay engaged with the Escape wheel for the full length of time of the wheel movement which means that it receives too much of an impulse extending the natural swing time of the pendulum and slowing down the clock. This leads to it being very sensitive to the amount of weight being applied by the Driving weight which in turn leads to a long pendulum rod. To overcome this in the new design a compound pendulum has been fitted which is easier to adjust, so controlling the clock and setting it up accurately become easier.
The real reason for this new design then is to bring back a clock with a Grasshopper escapement that is more controllable because it really is one of the nicest escapements to observe in its slow elegant motion. It is still not the most accurate of clocks but it does make up for that by being one of the most elegant.
Detail Drawings, Instructions, Profile Cuts, and the IGS and STP files that can be used with your CNC machine can be downloaded here for $26. You also get the unrestricted version of the PDF files that can be printed at full size.
Drawings for this clock in PDF format can be downloaded here. These free files are low resolution and not to scale and only a sample of the full set that comes in the paid for version. Clicking here will download the PDF file directly to your browser, may take a few moments so please be patient.
Instructions for assembling the clock components.
To print only a single item of the drawing to scale using Adobe Acrobat Reader, do the following:
Go to Edit, then click on Take a snapshot, move the cursor to the top left of the item you want to print and hold down the left mouse button whilst you drag a box around the item. The inside of the box turns blue and you can now go to File and then click on Print. This brings up the print dialogue, make sure Selected graphic is selected and that the Page scaling is set to None and the click on OK. As long as your printer is connected you will have printed the item at size. Do this for each item you want to cut out.

