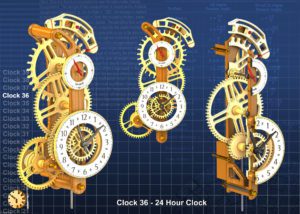
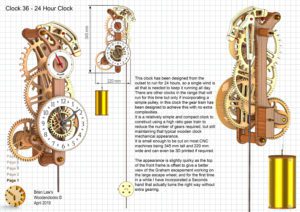
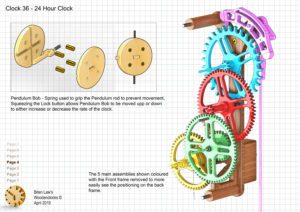
Clock 36 has been designed from the outset to run for 24 hours, so a single wind is all that is needed to keep it running all day. There are other clocks in the range that will run for this time but only if incorporating a simple pulley, in this clock the gear train has been designed to achieve this with no extra complexities.
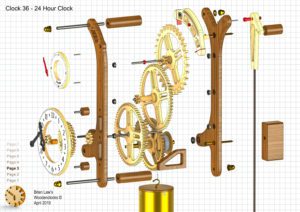
It is a relatively simple and compact clock to construct using a high ratio gear train to reduce the number of gears required, but still maintaining that typical wooden clock mechanical appearance.
It is small enough to be cut on most CNC machines being 340 mm tall and 200 mm wide and can even be 3D printed if required. The clock will run for just over 24 hours if mounted on the wall with the centre of the dial at 1500 mm above the floor
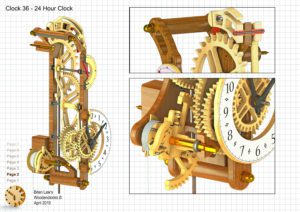
The appearance is slightly quirky as the top of the front frame is offset to give a better view of the Graham escapement working on the large escape wheel, and for the first time in a while I have incorporated a Seconds hand that actually turns the right way without extra gearing.
The prototype for this clock as shown in the attached video was built using 3D printing, due to problems with my CNC machine which will hopefully be overcome for the next clock due later this year.
DXF files, and the IGS and STP files that can be used with your CNC machine can be downloaded here for $26. You also get the unrestricted version of the PDF files that can be printed at full size.
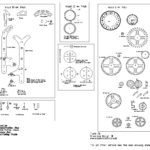
Drawings for this clock in PDF format can be downloaded here. These free files are low resolution and not to scale and only a sample of the full set that comes in the paid for version. Clicking here will download the PDF file directly to your browser, may take a few moments so please be patient.
A sample of the Instructions for assembling the clock components.
To print only a single item of the drawing to scale using Adobe Acrobat Reader, do the following:
Go to Edit, then click on Take a snapshot, move the cursor to the top left of the item you want to print and hold down the left mouse button whilst you drag a box around the item. The inside of the box turns blue and you can now go to File and then click on Print. This brings up the print dialogue, make sure Selected graphic is selected and that the Page scaling is set to None and the click on OK. As long as your printer is connected you will have printed the item at size. Do this for each item you want to cut out.

