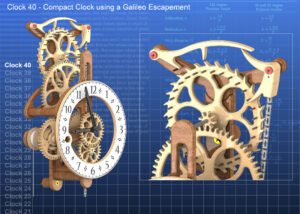
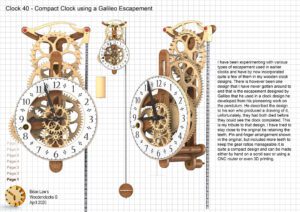
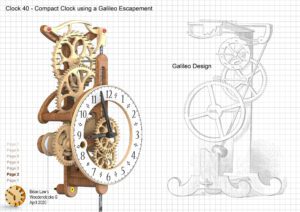
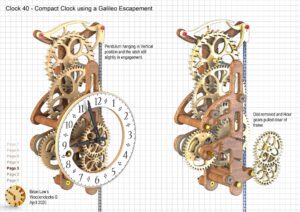
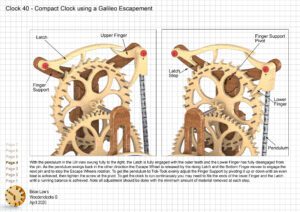
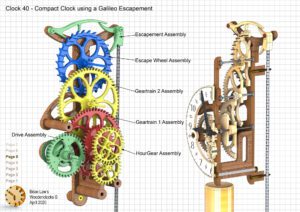
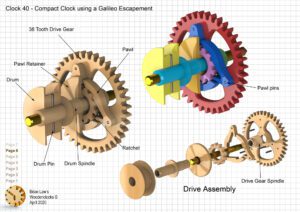
I have been experimenting with various types of escapement used in earlier clocks and have by now incorporated quite a few of them in my wooden clock designs. There is however been one design that I have never gotten around to, and that is the escapement designed by Galileo, used in a clock design he developed from his pioneering work on the pendulum. He described the design to his son who produced a drawing of it, unfortunately, they had both died before they could see the clock completed. This is my tribute to that design, I have tried to stay close to the original by retaining the teeth, Pin and finger arrangement shown in the original, but included more teeth to keep the gear ratios manageable. It is quite a compact design and can be made either by hand on a scroll saw or using a CNC router or even 3D printing.
Detail Drawings, Instructions, Profile Cuts, and the IGS and STP files that can be used with your CNC machine can be downloaded here for $26. You also get the unrestricted version of the PDF files that can be printed at full size.
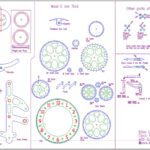
Drawings for this clock in PDF format can be downloaded here. These free files are low resolution and not to scale and only a sample of the full set that comes in the paid for version. Clicking here will download the PDF file directly to your browser, may take a few moments so please be patient.
Instructions for assembling the clock components.
To print only a single item of the drawing to scale using Adobe Acrobat Reader, do the following:
Go to Edit, then click on Take a snapshot, move the cursor to the top left of the item you want to print and hold down the left mouse button whilst you drag a box around the item. The inside of the box turns blue and you can now go to File and then click on Print. This brings up the print dialogue, make sure Selected graphic is selected and that the Page scaling is set to None and the click on OK. As long as your printer is connected you will have printed the item at size. Do this for each item you want to cut out.

