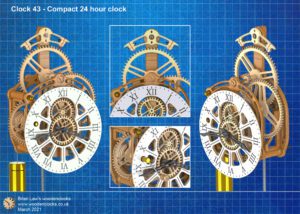
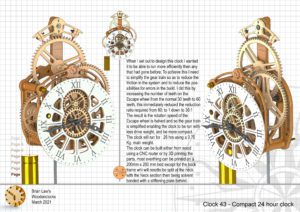
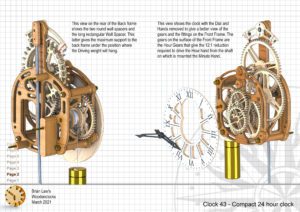
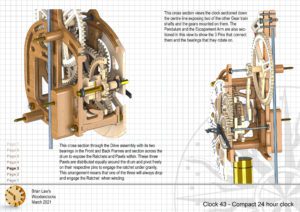
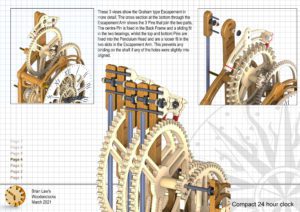
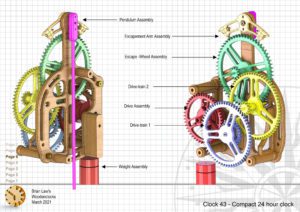
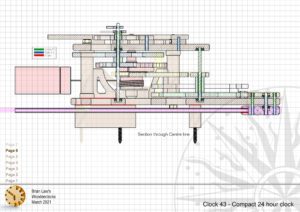
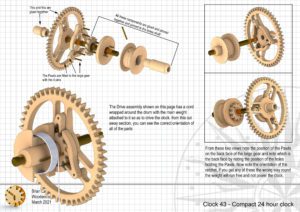
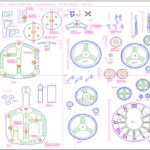
When I set out to design this clock I wanted it to be able to run more efficiently then any that had gone before. To achieve this I need to simplify the gear train so as to reduce the friction in the system and to reduce the possibilities for errors in the build. I did this by increasing the number of teeth on the Escape wheel from the normal 30 teeth to 60 teeth, this immediately reduced the reduction ratio required from 60: to 1 down to 30:1
The result is the rotation speed of the Escape wheel is halved and so the gear train is simplified enabling the clock to be run with less drive weight, and be more compact. The clock will run for 26 hrs using a 0.75 Kg. main weight.
The clock can be built either from wood using a CNC router or by 3D printing the parts, most everything can be printed on a 200mm x 200 mm bed except for the back frame whi will needto be split at the neck with the Neck section then being solvent bonded with a stiffening plate behind.
DXF files, and the IGS-STP and STL files that can be used with your CNC machine and 3D printer can be downloaded here for $26. You also get the unrestricted version of the PDF files that can be printed at full size and in this clock only the STL files if you need them.
Drawings for this clock in PDF format can be downloaded here. These free files are low resolution and not to scale and only a sample of the full set that comes in the paid for version. Clicking here will download the PDF file directly to your browser, may take a few moments so please be patient.
Instructions for assembling the clock components.
To print only a single item of the drawing to scale using Adobe Acrobat Reader, do the following:
Go to Edit, then click on Take a snapshot, move the cursor to the top left of the item you want to print and hold down the left mouse button whilst you drag a box around the item. The inside of the box turns blue and you can now go to File and then click on Print. This brings up the print dialogue, make sure Selected graphic is selected and that the Page scaling is set to None and the click on OK. As long as your printer is connected you will have printed the item at size. Do this for each item you want to cut out.

