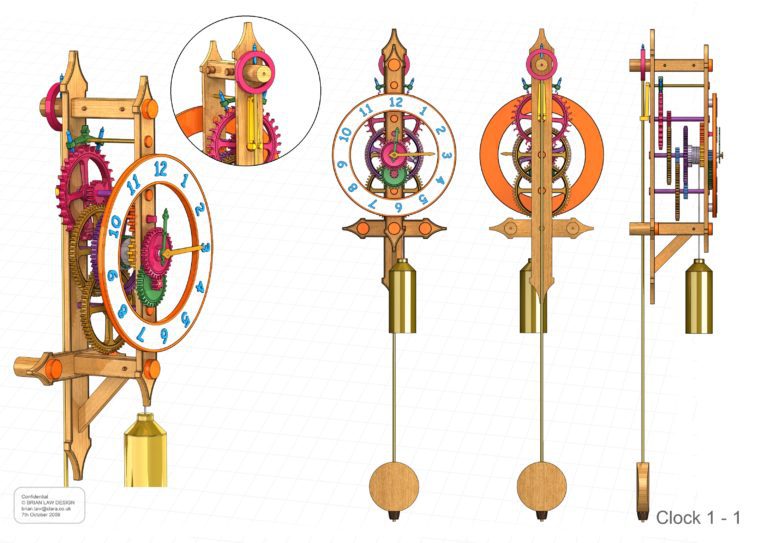
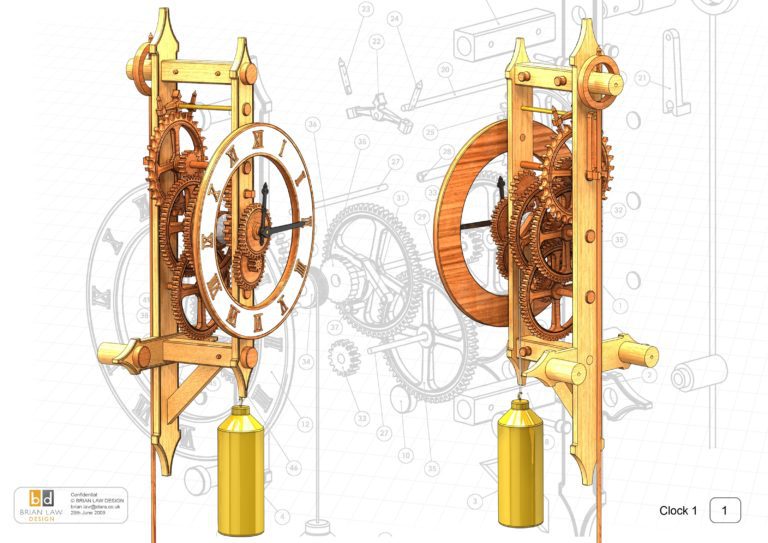
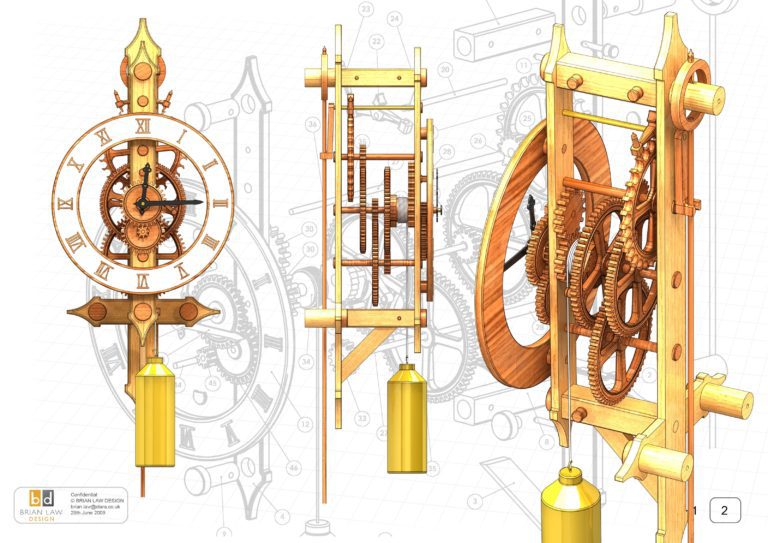
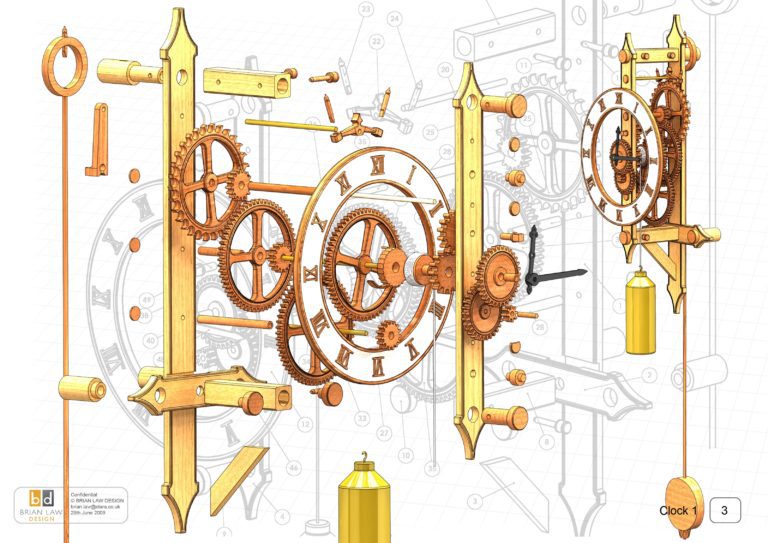
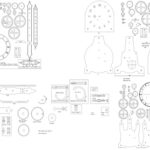
Clock 1 was not the first clock that I had designed, that was the one done for Burgess Power Tools, many years ago. This clock was designed much later, and was done more as a challenge originally to produce a design with in-line gearing that reflected the style of much earlier Verge and Foliot designs. This had the added benefit of reducing the timber content in the front and back panels by reducing them to the narrow strips used here. To do this required all the gears to be mounted in line, and that of course meant calculating a new gear train that would do this. A computer helped there as it worked through all the possible combinations to finish up with the one used here. It then only remained to layout the full design and create the aesthetic originally visualised. This clock is still the one most requested by clock builders, presumably because of its simple lines and the aesthetic that reaches back to the very much earlier styles of wooden clock.
For those clock builders who will be using CNC to cut the profiles the DXF files for this clock and Clocks 2,4 and 5 are available here for $36. This gets you all 4 clocks in DXF format, the files have been compiled to place the flat profiled parts for each one sheet for each clock. The files have all been re-created to remove as much as possible the broken lines in the originals.
For those clock builders who prefer the drawings to be in inch’s then the files can be downloaded here for $32. A cleaned up version of the DXF files is also included along with a set of additional rendered images.
I have included 3D model files for Clock 1 so you can load the 3D files into your own software. The files are in four formats Parasolid, IGS,STP and 3Dstudio Max. These files require payment of $26 and that gets you all 4 files.
Drawings for the clocks 1, 2, 4, 5 in PDF format can be downloaded here, they are drawn to scale so that they can be printed at full size on either A3 or Super B papers. I realise that not everyone has access to these large format printers so there is a way of printing out smaller area’s at full size standard paper sizes using Acrobat Reader. The procedure for doing this is shown below. These files are free but for all newer clocks there is a small charge.
To print only a single item of the drawing to scale using Adobe Acrobat Reader, do the following:
Go to Edit, then click on Take a snapshot, move the cursor to the top left of the item you want to print and hold down the left mouse button whilst you drag a box around the item. The inside of the box turns blue and you can now go to File and then click on Print. This brings up the print dialogue, make sure Selected graphic is selected and that the Page scaling is set to None and the click on OK. As long as your printer is connected you will have printed the item at size. Do this for each item you want to cut out.

